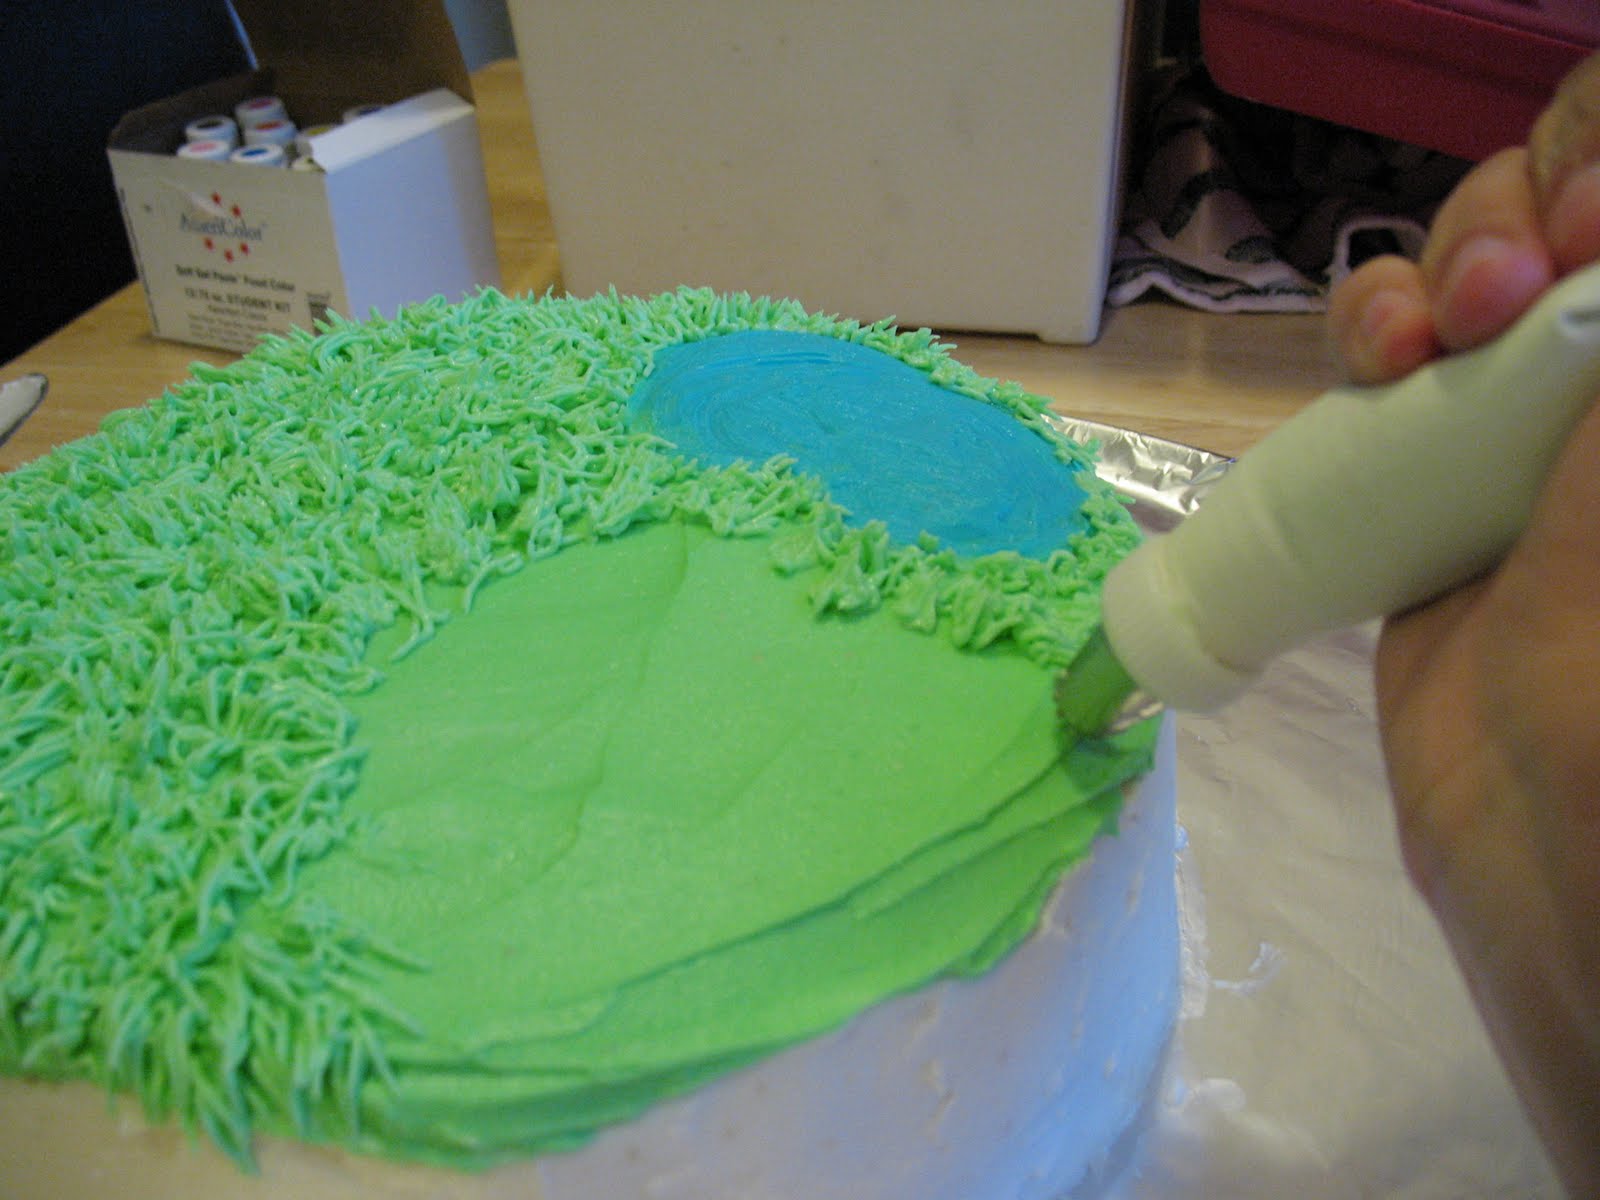
So we FINALLY got a real surgery date for Chloe. The surgery will be September 10th -which also happens to be Carter's first day of Kindergarten (*sniff*). So that will be one more thing I have to miss.... I'm finally starting to get over it a bit, but I was pretty bummed. I know he probably won't remember his first day of kindergarten, but it's my first child going to kindergarten and it was kind of a big deal for me.
But I know Chloe needs the surgery as soon as possible -she is getting more and more tired. It's weird -she's actually taking NAPS! Almost every day for the past week or so! And, for those of you who know her, that's saying a lot. She doesn't usually slow down for anything.
She and I will have to go up on September 4th for a Pre-Admission clinic and 3-D MRI in the days leading up to the surgery. Wish us luck! And pray that no stubborn, active girl decides to tear out her IV's (or breathing tube) on her own. lol (I don't know why I put LOL when I would definitely NOT be laughing if that actually happened... knock on wood).
Well, now that that is out of my system... Since I missed Foodie Friday this week, how about just reposting the T-Rex Cake tutorial that was posted at
So You Think You're Crafty earlier in the week? Sound good? Ok!
Here it is:
First off -thanks to everyone who voted for me! This is pretty exciting for me.
And secondly.... hold onto your hats -this is a lot longer post than I thought it would be. All ready? Ok, then here we go!
First things first - you need to bake some cakes. I used a cake mix (for this one it was a Funfetti mix) but I "doctor" it a bit to make a denser cake. Not only does it taste better than a plain cake mix, but it's also sturdier and will hold up better when stacked.
Here is that recipe:
Beat together (like you normally would make a cake mix):
1 cake mix
1 cup sugar
1 cup flour
pinch of salt
1 cup milk
3 eggs
1 cup sour cream
I baked 2 7-inch oval cake layers and still had enough for a dozen cupcakes. If you don't have oval pans, you could make a larger circle pan and just trim it into the shape you want. Oh, and pop on over to
this post for a cake release recipe- it will make easier to get your cakes out in one piece -minus the mess that you get when greasing and flouring pans. Trust me, you'll thank me later.
So make sure those babies cool completely. You may want to let them cool and then wrap them well in plastic wrap and do the decorating the next day just to give the cakes time to settle (and you a bit of a break).
When you're ready to decorate, you'll need a board. You can pick up foam core sheets at Michael's or probably even Staples. Get the thinner stuff (I think it's 1/4 inch). You'll want to cut it with an X-Acto knife the shape you want your dinosaur head to be. I traced around the oval cake (leaving about 1/4 inch extra all around to account for adding icing and fondant). Then I added on a snout shape to the front.
Next you will need to level your cakes. Use whatever you are comfortable with. My mother let me use her cake leveler. But you could level it out with a large knife. Or hold a piece of dental floss (unflavored!) TIGHTLY between your hands and, using a sawing motion from side to side, slowly work the floss from the far side of your cake towards yourself -keeping your hands as close to the same height as possible.
Put some frosting (go
here for my Buttercream Frosting recipe) down on your board. Lay one cake layer on the board -cut side UP (smooth side down). Then ice the whole top of that layer. Place the other layer on top of the first -cut side DOWN. This way the top AND bottom are the smooth sides.
Now comes the part that takes a bit more creativity. The oval cake forms the main part of the head. You will need to sculpt the snout, round out the back/sides of the head, and make a "dome" for the top of the head.
I started off using Rice Krispie squares. You can either use the store bought kind (those individually wrapped ones) or you can use homemade -whichever you prefer. My mother had a ton of store bought ones, so we used those. Whichever kind you use, make sure you squish them pretty well so they don't break down or fall apart.
I wrapped the rounded Rice Krispies around the back of the head and part way around the sides. You will need to attach these with icing. If they will not stay on well in certain places, a well-placed toothpick can work wonders... as long as you remember to take it out when cutting the cake! Ouch!
I used more Rice Krispies to make a "dome" shape on the top of the head as well.
But I was running low on Rice Krispies (and was too lazy to want to make some homemade ones at the time), so we opted to make a kind of "clay" like you do for cake pops. We had baked some cupcakes and a small cake with the extra batter. So we crumbled up the scraps (from when you leveled your cakes) and the extra cake into a bowl. Then add a bit of icing at a time -you don't want it too soft. Knead if up with your fingers until it is moist and holds a shape. Use that "clay" to sculpt other parts of your dinosaur's head.
I used a knife to shave down the oval cake near the snout to give it the right shape. Using fondant tools (or your fingers or other kitchen utensils), make indents for the eye sockets and the nostrils. Then make an indentation for the mouth.
Put frosting over the whole cake. This is a perfect time to fill in any gaps or irregularities in your Rice Krispie parts. Try to get it fairly smooth, but it doesn't have to be perfect since it will be covered up. And I don't there were any dinosaurs with perfectly smooth skin and no odd lumps... but I'm no expert.

Now you will need your fondant. You can use store bought fondant (make sure to use your 40% off coupon if you are buying at Michael's!) or
make your own marshmallow fondant. I made the marshmallow kind because
it's cheaper and tastes way better, in my opinion. You can add in some modeling
chocolate if you like, but don't have too. I added a little, but only
because my mother (who teaches cake decorating classes) had some on hand
and brought it over for me. Don't you love moms? She brought all her
fancy cake decorating toys for me, gave me tips, and watched the kids
the whole time! She's basically Super Woman. Anyway, if you make
marshmallow fondant, make sure you err on the side of stiffness. We had
to roll it out three times and keep adding powdered sugar each time
because it was too soft and was tearing. If it's too stiff, add some
shortening, if it's too soft add powdered sugar. But go slowly -just
add little bits of either at a time.

Use some fondant to make a rope like shape. Use pieces of this "rope" (with the ends rolled to points) to make the brow bones over your eye sockets. Shape them the way you want them.


Leave some fondant white, but color the rest pale green. Now you're ready to roll it out. Make sure your surface is well greased with shortening (you can use a clean table top or a rolling mat). Roll it out so it's about 3/8 inch thick (and as even thickness as you can) and large enough that it will cover the WHOLE cake and hang AT LEAST to the table top. CAFEFULLY lift your fondant and place it gently over your cake, making sure it hangs at least to the table top on ALL sides. Then, starting at the top, slowly and carefully smooth out the fondant -working your way down. You may have to lift it away from the cake in spots and then smooth it back down. Make sure you shape it to the curves of your cake -getting it in the nostrils and eye sockets, brows and mouth line. Once you have it smoothed all the way to the bottom, start trimming (with a sharp knife) the excess fondant from the bottom. Smooth it to the edge of the board as well.

For the next part I found it easier to raise the cake up. I had mine on a cake turn table, but added a sturdy, upside down plastic container that was smaller than the cake between the cake and turn table so I could get my tools right up to the bottom of the cake.
I got out a large round shaped cake decorating tip and pushed it gently into the fondant all over -just to make a circular indent that looks like scales. Do that over all the cake. You could leave a bit of the eye sockets with no scales if you like.
Now comes the really fun part -seriously, I felt like a professional make up artist doing this. Haha.
I used cake decorating "dust". Mom had a big palette with all kinds of colors, but you can buy individual colors too from cake decorating stores or online. You can also use non toxic colored chalk and grind it up... but that's a lot more work.
Take a soft bristled brush (that has NEVER been used for paint!) or a
NEW, CLEAN make up brush to dab and dust it on. I did some dark
red/burgundy and some grayish black in the mouth crease. Then did the
scales with yellows, greens and a bit of dark brown.
This is really all up to your preferences. Start lightly -you can always add more, but it's harder to UNDO it later. You can tap
out some excess powder onto a paper towel so you don't get any dark
streaks or large solid patches. You can easily go back later to the paper
towel and pick up some of that excess powder with your brush so you don't waste a lot.
After you have done that, you can add some sparkly (edible) dust in spots. You can buy that at the same place as your other "dust". I'm lucky in that I have my own personal "store" of supplies in my mother. If you are really interested in trying it out and can't find any, jump over to my blog,
The Crafty Conundrum and leave a message for me. I'd be happy to ask the pro for you and let you know where exactly you can get your hands on some.
Now we can make the eyes and teeth, which will make your dinosaur even scarier! For this I used some more fondant (white this time) and added a bit of gum paste (this is available in the Wilton aisle at Michael's). Knead the gum paste into the fondant well.
Then I took two pieces the same size and rolled them into balls. Then slightly flattened them with my finger. I used a small ball tool (fondant tools) to make an indent where I wanted the pupils to be. Then colored a tiny amount of fondant dark brown.
I made two tiny balls with the brown fondant. Dab a LITTLE edible adhesive on the back of them and place them into the indents in the eyes. Then flattened them down to the level of the eyes around them.
Then put some adhesive on the backs of the eyes and attach them to the eye sockets.
**TO MAKE EDIBLE ADHESIVE:
Break up 1/4 tsp gum paste into 1 tbsp water. Mix. Store in a small covered container or jar at room temperature.
** Make sure to cover the fondant you aren't using in plastic wrap. You can also coat it (very thin coat) with shortening with your hands before wrapping it, to keep it from drying out.**
Now take some more fondant and roll it into a long, thin rope. Cut the rope into short pieces of varying lengths.
Roll one end of each piece to a point. You can leave these teeth straight, or you can curve them a bit -it's up to you. Put a dab of adhesive onto the backs of the teeth and attach them to the dinosaur's mouth. You may have to hold the teeth in place for a few seconds to make sure they stick.
Now the final thing you need to do is put the cake on a board or cake
stand. You can use the thicker foam core sheets and cut the shape you
want. Then you have some choices. You can wrap it in foil, cover it
with fondant (use piping gel to stick the fondant to the board), or put
ribbon around the edge of the board to hide the raw edge of the foam
core. Or you could even cover a cutting board or put it on a cake
stand. You can stick the cake on to the board using icing or piping
gel. And.... You're done! You made it! Hooray!
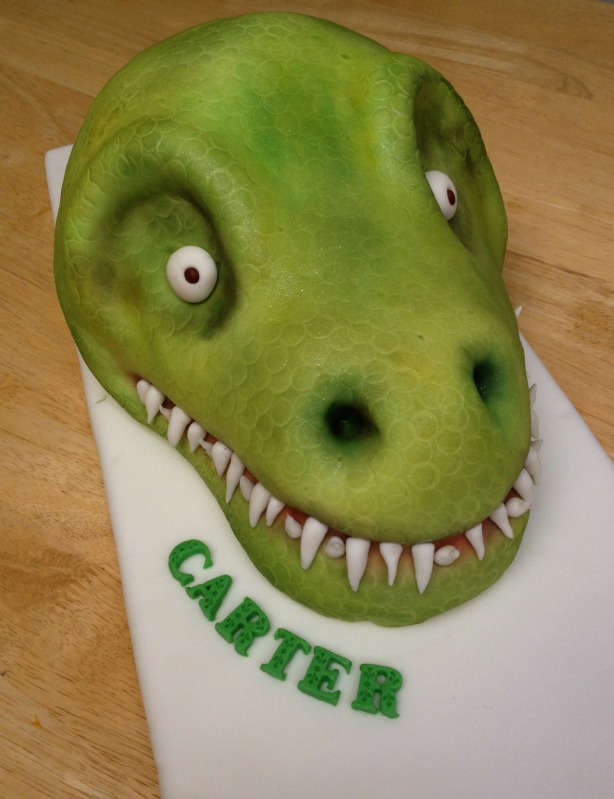
I went one step further -but it's not necessary -and made fondant letters with fondant molds to spell my son's name.
I just love how it turned out -not TOO scary, but not too cute. The boys loved it. But they all fought over who got to eat the eyes and the teeth. LOL.
And if you made it this far, thanks for being patient with this long-winded tutorial.